May 17, 2014

Chocolate Peanut Butter Fudge


Right now my partner and I are obsessing over the following TV shows, in no particular order: Hannibal, Orphan Black, and Game of Thrones. We are also giddy with excitement for the upcoming finale season of True Blood premiering next month. Why am I telling you this? Because late night TV watching tends to spur my recipe development juices into action. Last weekend we were about to watch an episode of Hannibal when we both simultaneously were hit with the uncontrollable need for something sweet.This recipe was sent straight to me from the vegan sweets gods. I whipped it up in a matter of minutes and it was oh so good.  


Chocolate Peanut Butter Fudge 

1 cup chocolate chips
2 tbsp flour (whatever you have on hand should work, I used Bob's Red Mill Brown Rice Flour)
heaping 1/2 cup peanut butter (or even more if you really like pb! I use creamy, salted, unsweetened.)
2 tbsp maple syrup
2 tsp vanilla extract 
  1. Melt the chocolate chips with a double boiler, stirring constantly. I'm too cheap to actually buy a double boiler, so my poor person method is to boil a pot of water on the stove and hold a small sauce pan with the chocolate chips over the boiling water. This method works like a charm! (Of course you can also do it the quick and dirty way by just microwaving the chocolate chips in a bowl. I suggest setting your microwave to 50% and only putting them in for 10 second intervals, stirring in between until fully melted.)
  2. While the chocolate is melting, pour the rest of the ingredients into a bowl. Once the chocolate is fully melted, add to the bowl. With lightning speed, mix very well. This stuff hardens pretty fast, so you have to move quickly! 
  3. Once the fudge has become a heavenly blob of goodness, pour into a pan or square container and use your hands to press down to your preferred thickness. Cut into squares. These are best kept in a container at room temperature on your counter. I would not advise keeping them in the fridge, as they will become rock hard, I learned this the hard way! It's not a super big deal, you just have to wait a billion years for them to thaw and you are forced to stare longingly at your tasty morsel unable to eat it yet. 

What's your fave TV show right now? Comment below and let me know! Hehe, I just rhymed :)

Oh, and I shared this on Healthy Vegan Fridays!


May 4, 2014

Raw Peanut Butter Cookies


 I have been feeling really inspired and motivated lately. I read a lot of vegan food blogs and in the past few weeks, I've just suddenly felt ready to take the next step and get serious about my blogging and photography. I recently bought a new lens for my camera and this weekend I decided to buy a tripod and some new photo-editing software. I've been casually putting content up on this blog for a few years now, but now I finally feel ready to commit to the blogging world and become a "real" blogger.


These delicious raw cookies have been something I have been wanting to share with the world for a really long time. I keep a binder of all my blog ideas and this recipe has been at the top of my list for quite some time.

Raw Peanut Butter Cookies

1 cup almonds
1 cup dates
1/2 cup peanut butter (I use creamy, salted, unsweetened)
2 tablespoons maple syrup
1 teaspoon vanilla extract  
  1. In a food processor, grind up the almonds as finely as you can. (see picture below for example)
  2. Add dates and pulse for a few seconds, then add peanut butter and pulse a few more times.
  3. Add the rest of the ingredients and run the food processor until everything is well-mixed together and becomes a crumbly, doughy blob. 
  4. Using your hands, form small cookie patties. Alternatively, pour and press into some kind of container and cut into squares. Cookies should be kept in the refrigerator when not being gobbled.


This recipe was shared on: Pure Ella

March 30, 2014

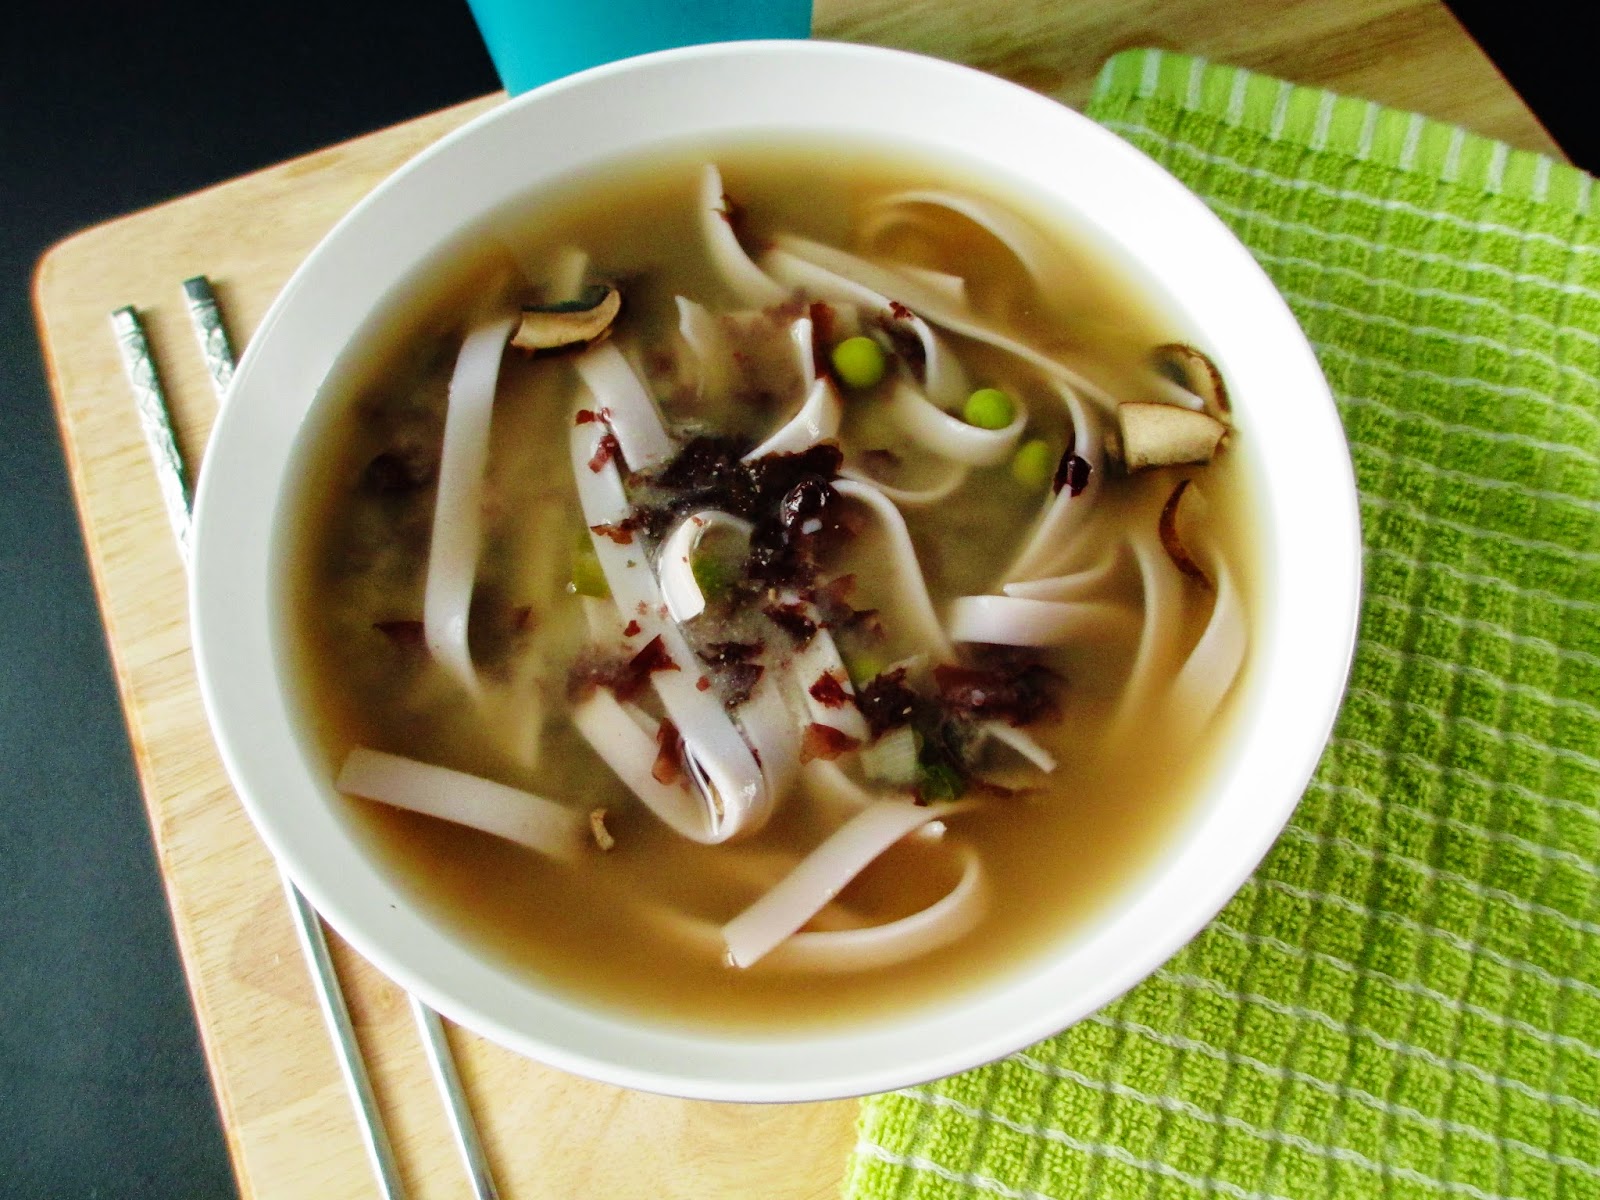
Miso Soup with Rice Noodles


I recently rediscovered miso soup after ordering some for lunch at work a few weeks ago. I had completely forgotten how warming and nourishing a big bowl of miso soup was. I have had the same tub of miso paste sitting in my fridge for a few years now, for the occasional teaspoon put into a soup or sauce for extra flavor. Well let me just say that after that soup for lunch, I ran home and knew I had to make some for dinner. and then for another dinner. and then for another. That 3-year-old tub? It's now gone, because I have made this soup about a billion times over the past few weeks.

My take on miso soup includes rice noodles, because I wanted to turn it into a filling meal I could serve alone at dinnertime. Feel free to exclude the noodles if you are just looking for some warming broth to slurp. I also included tofu as an optional add-in. I personally never put tofu in this soup when I make it, but I know a lot of people like tofu in their miso soup. So go ahead, tofu it up!


Miso Soup with Rice Noodles
Serves 2-3 people

6 cups of water, plus more for cooking the noodles
3 TBSP miso paste
1/4 cup dulse (or any other kind of seaweed)
1/2 cup frozen green peas
3 whole scallions including white parts, sliced
4 oz of mushrooms, I like baby bella or shitake, sliced
8 oz of pad thai rice noodles
Optional: 1/2 block of firm silken tofu, diced into 1-inch cubes

  1. In a large-sized pot, bring the 6 cups of water to a boil. 
  2. Meanwhile, in a second, medium-sized pot, cook noodles according to the package. 
  3. Once the 6 cups of water is boiling, turn heat down to a very low simmer and add miso paste. Let that dissolve for about 2-3 minutes and then add the dulse. Simmer for 5 minutes, then add the rest of the ingredients, except for the noodles. Simmer for another 10 minutes, then add the cooked noodles. Heat through for 1 minute. 
  4. Eat with chopsticks (if you are not a klutz like me!).